The MGA With An Attitude
Recovering the DASH With LEATHER -- DT-110A
MGA Dashboard Restoration - By Ahmed EL Abasiry
On June 21, 2022, Ahmed EL Abasiry in Calgary, Alberta, Canada wrote:
"I wrapped my dashboard in leather. What a transformation"!
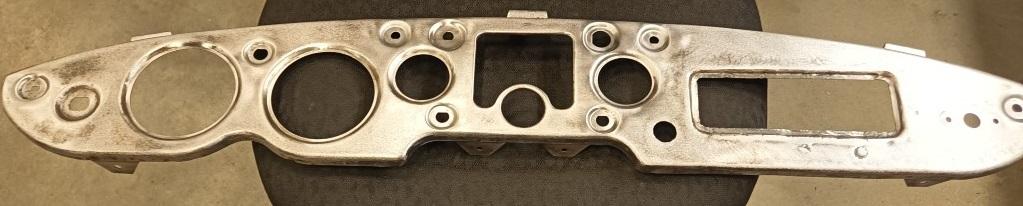
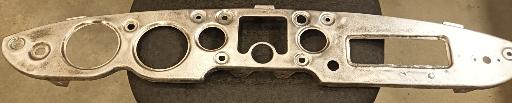
Will skip the bits about repairing the damaged steel dash panel, and jump right into the clean-up and covering process.
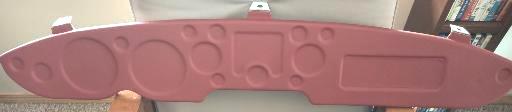
"My '58 came with painted dash, but I thought of adding a bit of sizzle with a covered dash so I got this old dash to play with.
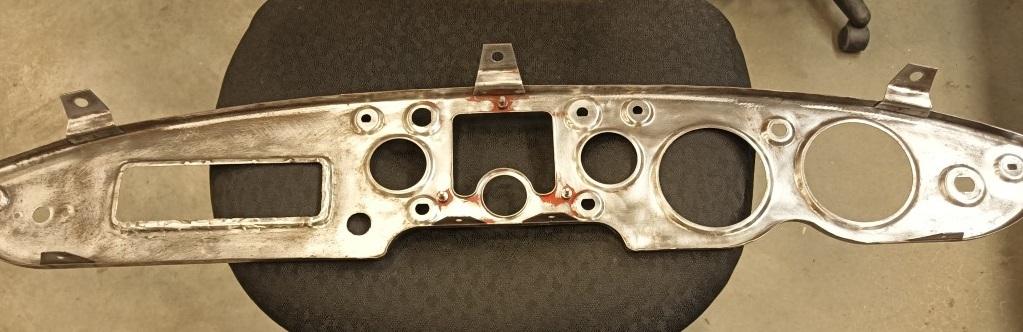
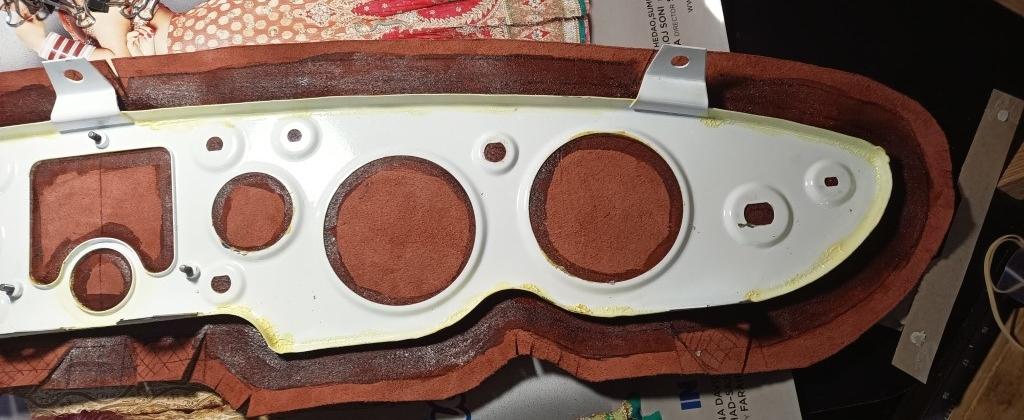
Stripped the rust and old paint (wire brush):

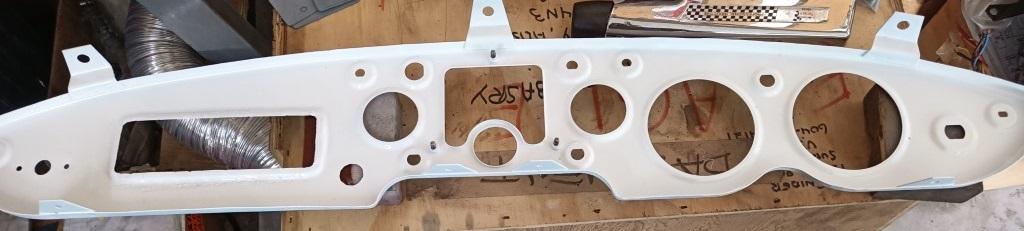
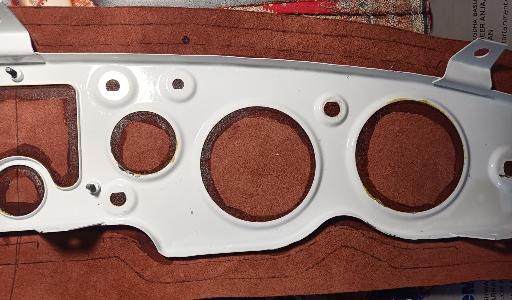
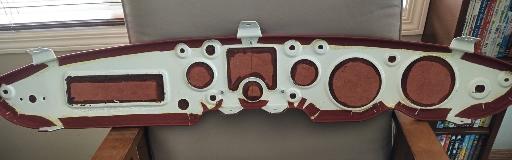
Sprayed it in black etch primer and painted the back white to match the car:

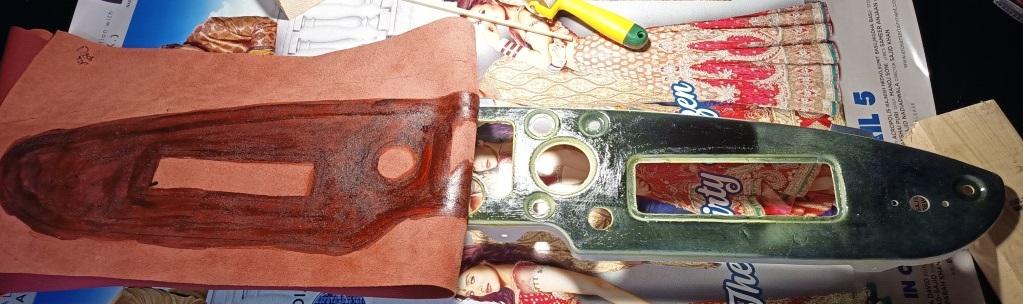
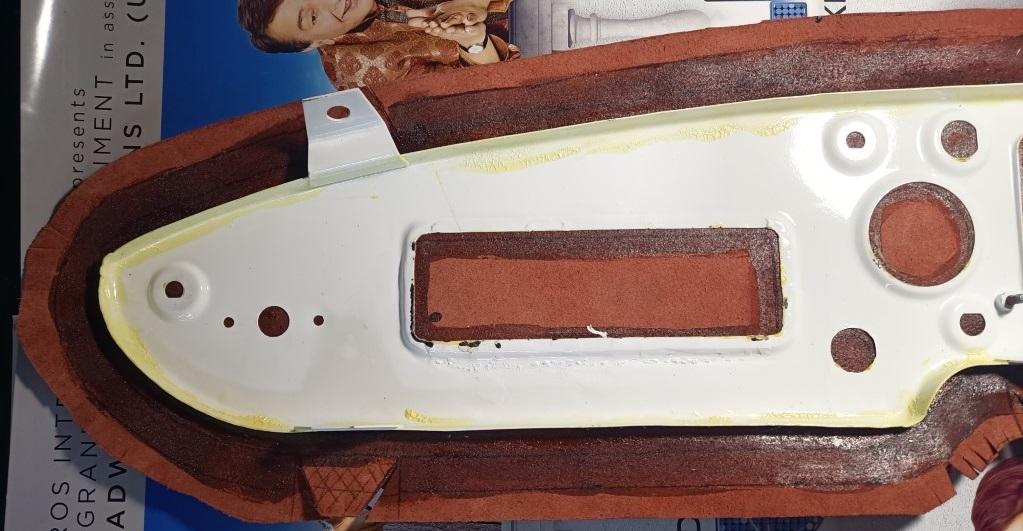
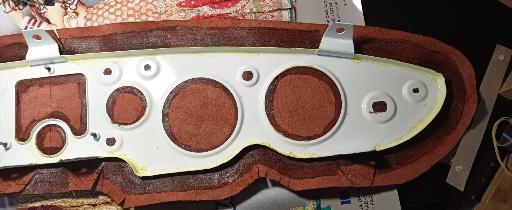
Dashes from the factory were covered in Vinyl, but I bought a 1x4 ft section of leather with my interior kit to use on the dash. I think leather will look much nicer. Can't beat the smell or grain looks Laying out the dash on the leather and tracing the outline and holes.

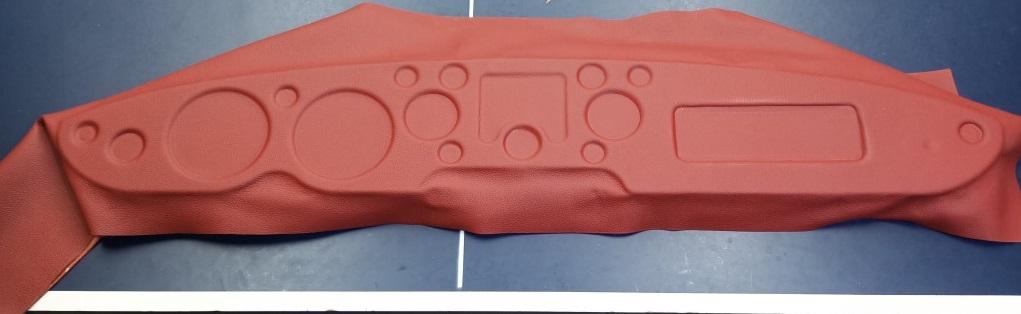
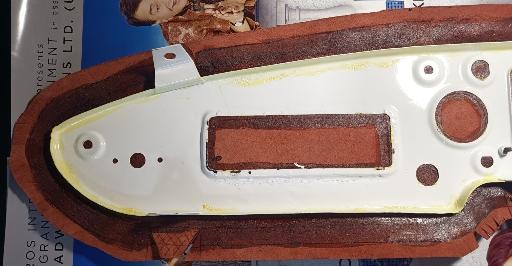
Factory covered the dash using two separate piece of vinyl. I don't really know their reason for doing so, but I will do it in one piece. Here's after gluing half of it:
and the back side
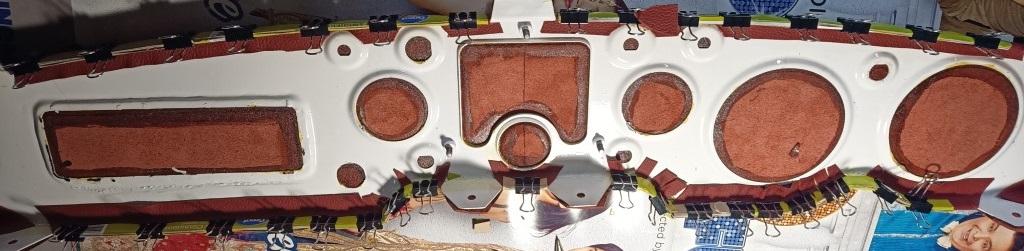
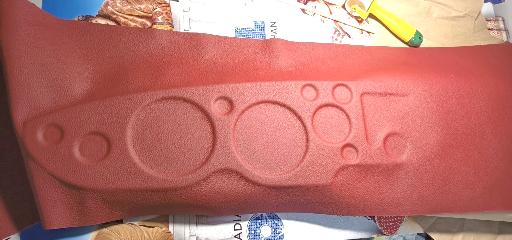
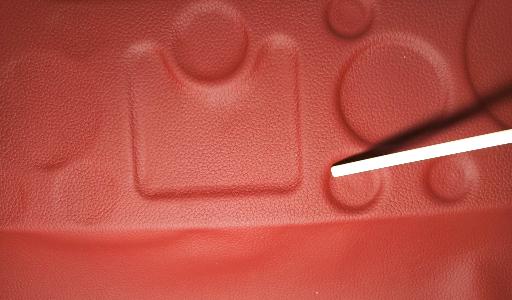
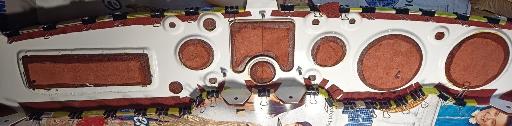
I used an old, rounded plastic chop stick to make the leather conform to the recesses of the dials, switches, etc
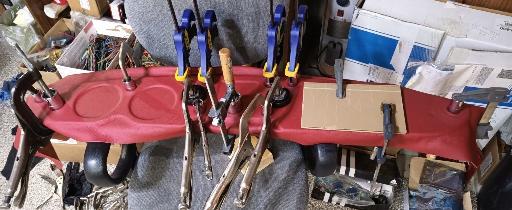
Then clamped some sockets and other round objects on all the recesses until the glue dried. I also clamped the radio blanking plate between two pieces of wood. A woodworking saying comes to mind: "The one with most clamps win!"
And after the glue dried over night:

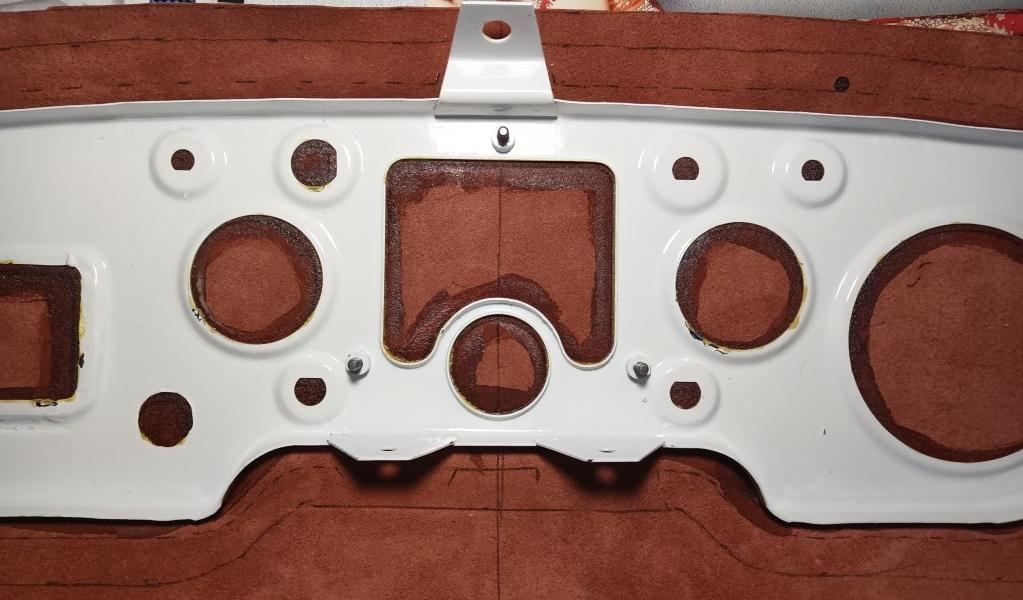
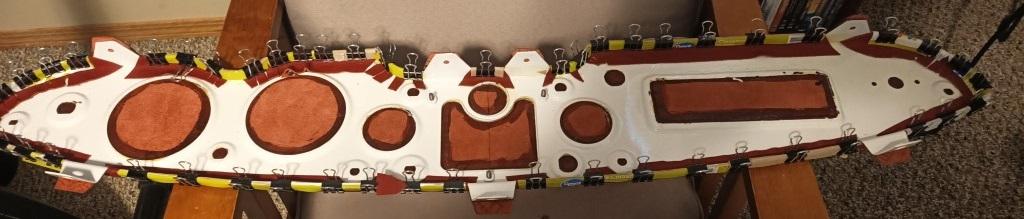
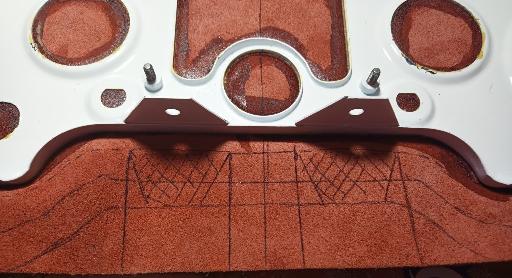
I then traced the width of the lip on the leather to give me an idea where to trim. I will wrap around the edge of the dashboard for extra strength.

and marked the mounting ears for cutting:

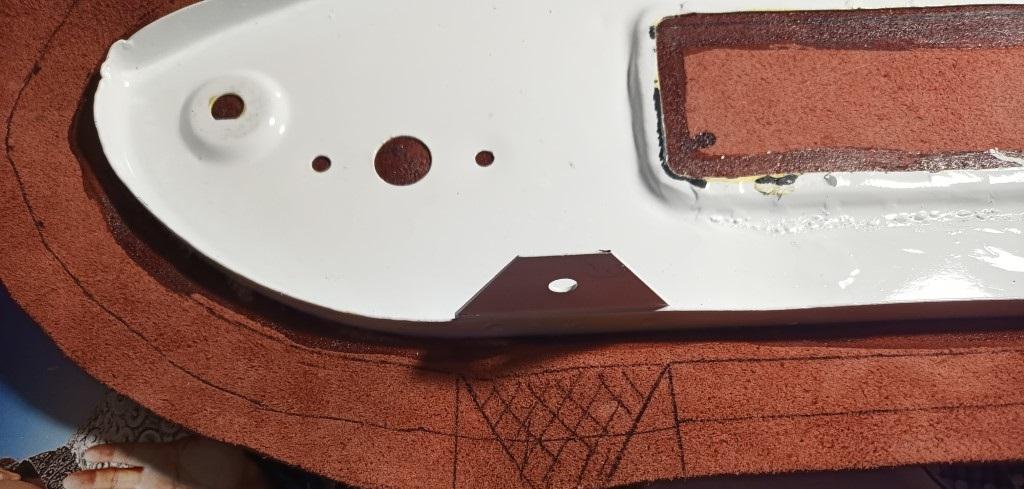
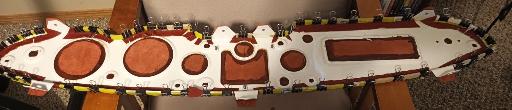
Trimmed the leather and applied glue to the edge of the dash and the leather:
Folded the edge then clamped with a million clips (cushioned by folded pieces of cardboard):
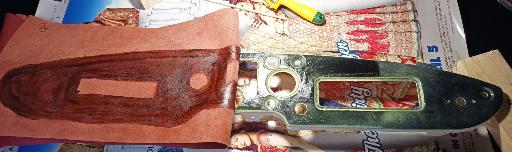
Front view after it was all glued:
and rear view:
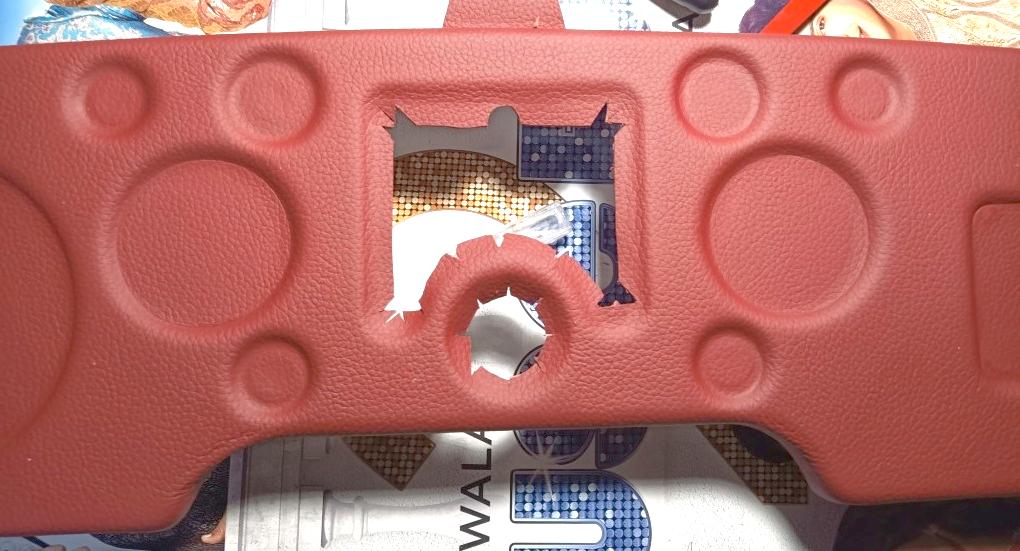
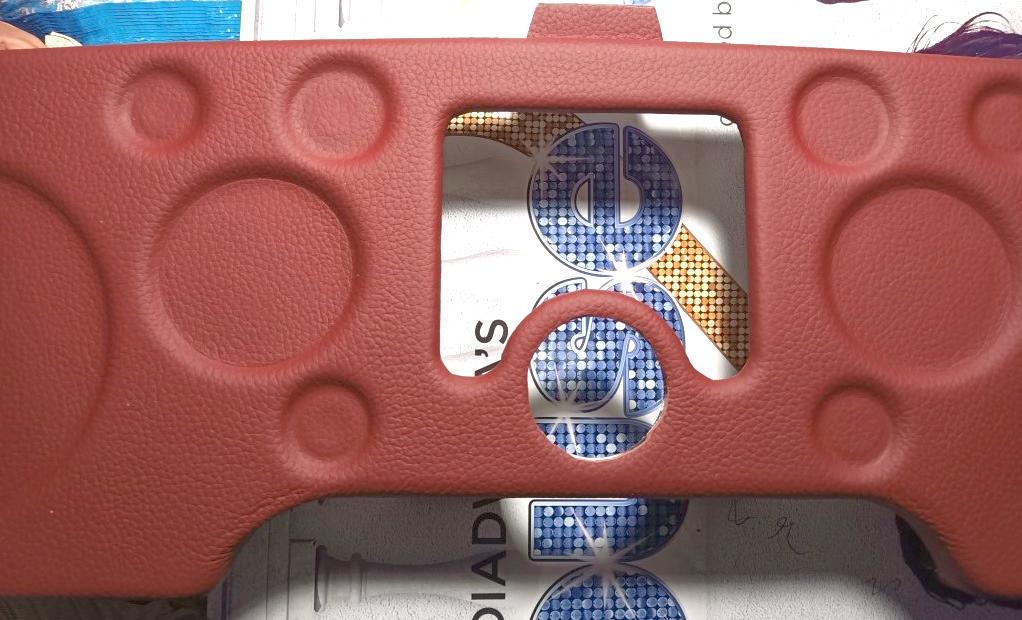
Cutting the opening for the speaker grille and horn:

then glued around the edges:


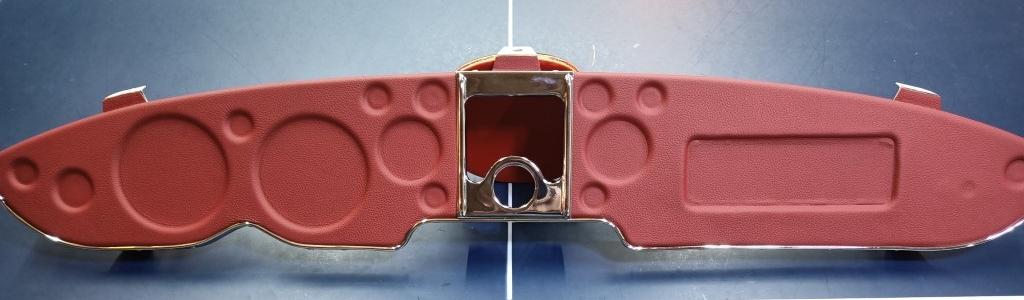
Drilled and riveted the speaker surround and finishing strip (the finishing strip needed quite a bit of msssaging to conform to the dash curves!)

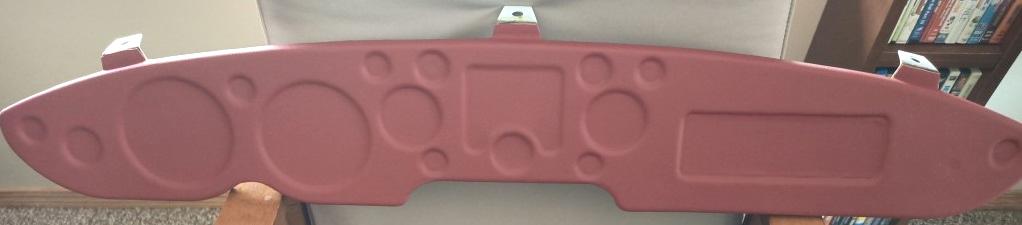
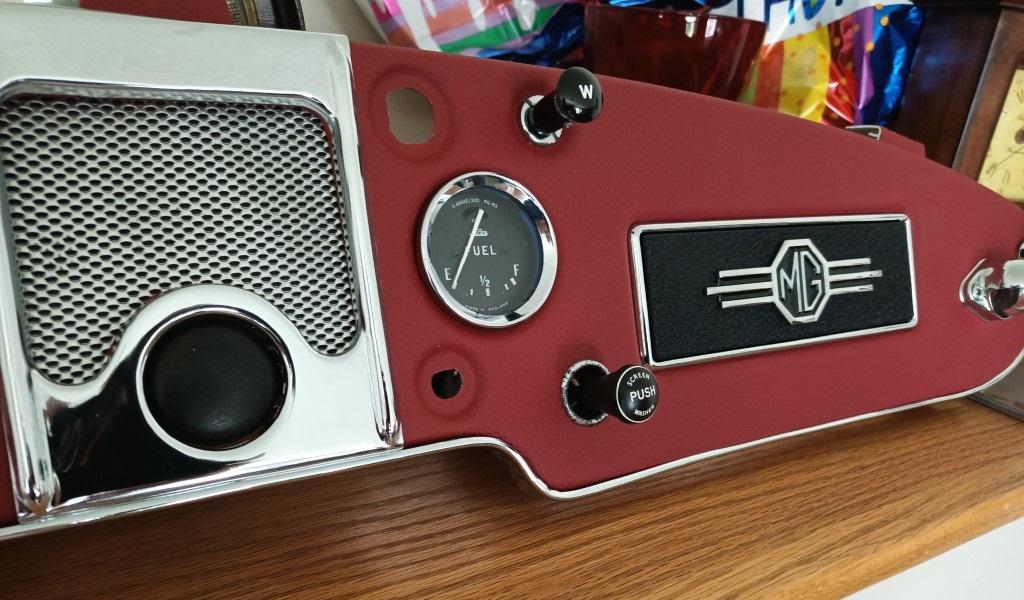
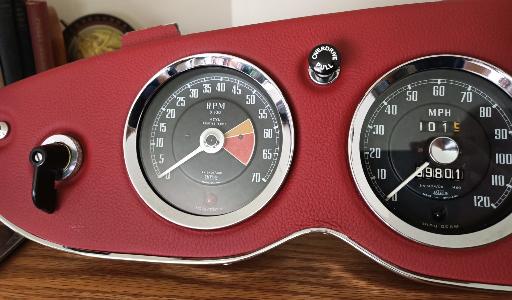
and drum roll for the finished product:
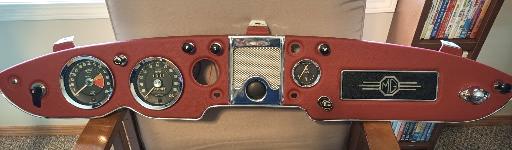
I deleted the panel dimmer pot and replaced it with a knob to operate the overdrive in my gearbox.
I also decided to keep the radio blanking plate in black. gives a nice contrast instead of a "sea of red". Overall, a very satisfying project and came out great. I am still hooked on the smell of leather (and glue!)

|