The MGA With An Attitude
Master Cylinder Repacking or Rebuilding In Situ, MGA - HT-124
This article looks a lot like R & R of the MGA master cylinder, except you do not have to disconnect the steel pipes or remove the unit completely from the car. Use a suction squeeze ball or turkey baster or syringe to remove as much fluid as possible from the reservoir. Be prepared to catch and/or clean up some fluid that will run out the front when the front cover is removed.
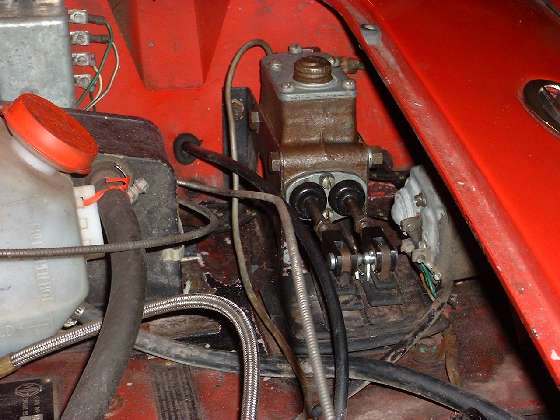
Loosen the two master cylinder mounting bolts. Then remove the two pushrods. This may require removing the front mounting bolt to raise the front of the master cylinder slightly so the pushrod clevises can clear the pedal tops. The steel pipes are somewhat flexible. With the front mounting bolt removed, raise the front of the master cylinder enough for clear access to the front cover above the pedal tops, and block it up in that position.
Remove two screws to remove the front cover. Internal parts will begin to come out of the bores when the front cover is removed. When you extract the pistons, fluid will also escape. DOT3 or DOT4 fluid (glycol based) will eat paint, so do keep that mopped up and dry. DOT5 fluid (silicone oil) will not eat paint, but it could interfere with repainting later, so keep that mopped up as well. More modern DOT5.1 fluid is back to being glycol based, and will eat paint.
Remove pistons, wave washers, seal cups, cup expanders (if present) and the compression springs from both bores. In the brake side bore there will be additional non-return valve parts in the back of the bore that also need to be removed. You may need a hooked wire to get those parts out. The last piece there is a thick rubber washer.
Use a bright spot light flashlight to inspect the cylinder bores. If the bores are significantly worn or scratched, you would need to hone the bores before repacking. If wear marks or scratches will not hone out to be smooth, then the bores will need to be sleeved, or the entire unit may be replaced If the bores are clean and smooth, you may clean and repack the master cylinder with a new packing kit.
Reassembly is the reverse of disassembly. Install all internal parts in proper sequence, coating/lubricating all of the internal parts with brake fluid. Push the pistons to end of travel and release. The pistons must return freely to front of the bores from internal spring force only. If the pistons stick somewhere down the bores, you need to fix that before final closing. Replace the front cover using a new paper gasket and external dust cover cups. Reinstall pushrods with clevis, drop the front end down to install clevis pins. Good time to replace worn clevis pins and inspect the pedal tops and clevises for worn holes. Reinstall the front mounting bolt and tighten the bolts. Finish by adjusting the pushrods for minimal freeplay (not tight).
When completely reassembled you can refill brake fluid and bleed the hydraulic circuits. Those processes are covered in other tech articles.
|